I made quilts and for my son's bunkbeds and had them professionally quilted and then realized they were too small. Fortunately I didn't bind them right away, so I didn't have to remove the binding before adding strips to the sides.
Here is a tutorial showing the steps to enlarge a quilt that has already been quilted. This tutorial is for a quilt that does not have a binding on it. The binding would need removed for this method.
SUPPLIES: fabric, fusible batting, thread
MEASURE:
1. Measure the length of the side of the quilt which you want to increase. This is the length measurement of the strip.
2. Determine how many inches you want to increase this side. This is the width measurement of the strip.
3. The width of the backing strip will be 1/2" wider than the width of the quilt top strip.
CALCULATE AND CUT:
1. Calculate the number of strips needed (one width-wise strip of fabric usually yields 42").
2. Cut the number of strips needed out of both the quilt top fabric and the quilt backing fabric, remembering that the quilt backing strips must be 1/2" wider than the quilt front strips.
3. Cut the fusible batting into strips that are 1/2" narrower than the quilt top strips.
Picture 1 shows a picture of the quilt top strip, batting strip, and backing strip laid out.

Picture 1
1. Warm up the iron...those crazy auto shut-offs are constantly turning off!
2. Place the backing fabric right-side down on the ironing board.
3. Layer the fusible batting on top of the backing fabric, placing one side 1/4" from the edge of the batting (right side in Picture 2). On the opposite edge, the batting will be about 1/2" from the backing edge (left side in Picture 2).
NOTE: The left side shown in Picture 2 will be the side attached to the already-made quilt, so be sure the backing fabric faces the direction you want it to face on the actual quilt. Mine had animal heads which needed to face a certain direction...your's might not have a direction.

Picture 2
4. Layer the quilt top fabric on top of the batting, lining up at what will be the outside quilt edge.5. Press all layers together, being careful to not adhere any batting to the iron. See picture 3.
 |
| Picture 3 - All layers together |
 |
| Picture 4 - Freehand quilting |
ASSEMBLY:
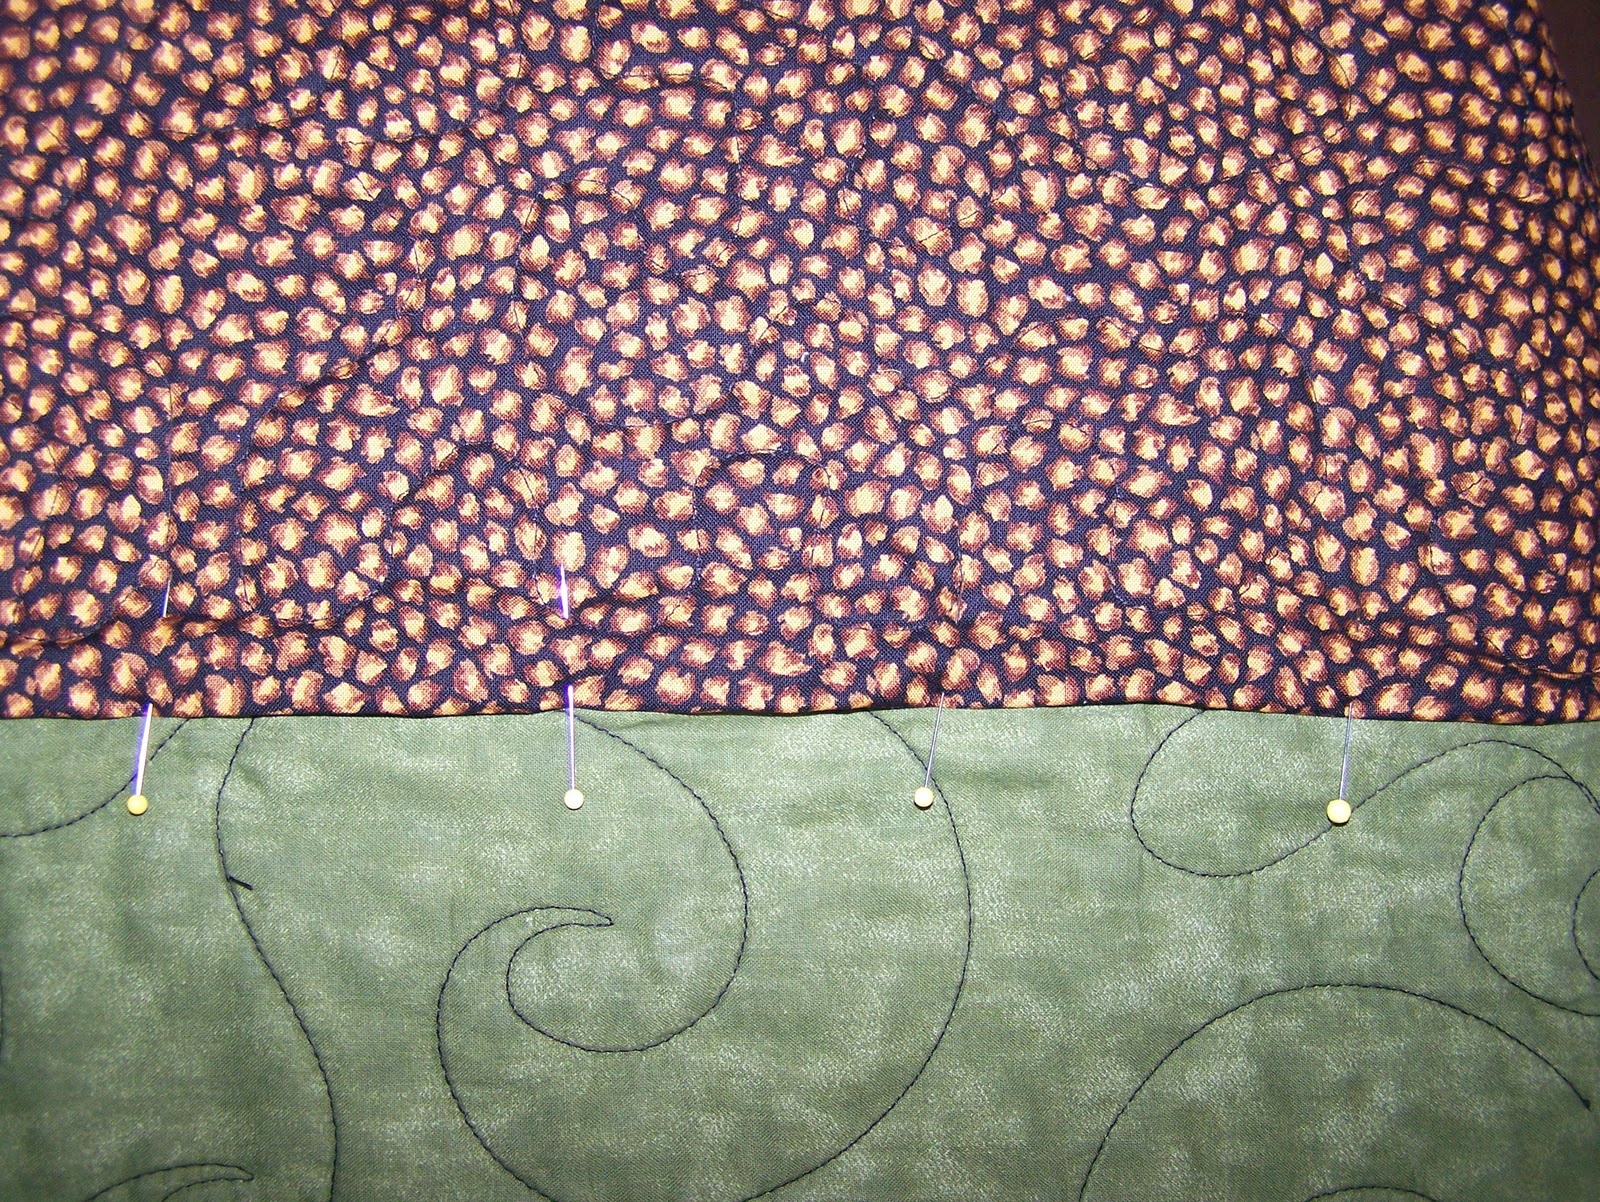
1. Pin prepared strip to quilt edge, right sides together. Fold back the quilt backing that sticks out past the edge of the quilt top. You'll use this later to hide the seam. See picture 5. The black/tan fabric is the backing that has been folded back. The tan color at the top of the picture is the carpet, as I laid this out on the floor to pin.
 |
| Picture 5 - Pin to quilt top. |
2. Sew strip to top using a 1/4" seam. Press seam toward new strip. See picture 6.
 |
| Picture 6 - Sew 1/4" seam. |
 |
| Picture 7 - Measuring and re-folding and pressing backing to hide the seam. |
 |
| Picture 8 - The seam is now covered and backing pinned in place. |
4. Using a stitch of your choice (I used a decorative one), sew this seam down. You can't see it in picture 9, can you? :)
5. Bind the quilt as usual.
 |
| Picture 9 - All done! |
Please let me know if you have any questions or if you think of ways I could make this tutorial clearer. Thanks.
Please let me know if you have any questions or if you think of ways I could make this tutorial clearer. Thanks.


2 comments :
Thanks for the tutorial! I have not run into this problem yet, but if I had, without this idea, I probably would have ended up abandoning the project!
@ Mary,
I hope you don't need to use this tutorial in the future, either. It is much easier to make it big enough to begin with! But my son is very appreciative each night as he can now tuck the quilt under his chin!
Post a Comment