How to bind a quilt 100% by machine using a double-fold binding. This is the method I prefer because it is the fastest method. In addition, it is the most durable binding and will withstand lots of use. Did you know the binding takes the most abuse on a quilt?
Remember, if you have a method that works well, stick with it. There is no one right way to bind a quilt!
NOTE: I no longer bind quilts in exactly this manner. I was having too much trouble catching the binding in the seam using the method below.
I have made the following changes to how I bind quilts:
- 2-1/8" strips rather than 2-1/4".
- Attach binding to the back of the quilt using just over a 1/4" seam rather than attaching it to the front.
- Turn the binding to the front and sew it down there.
 |
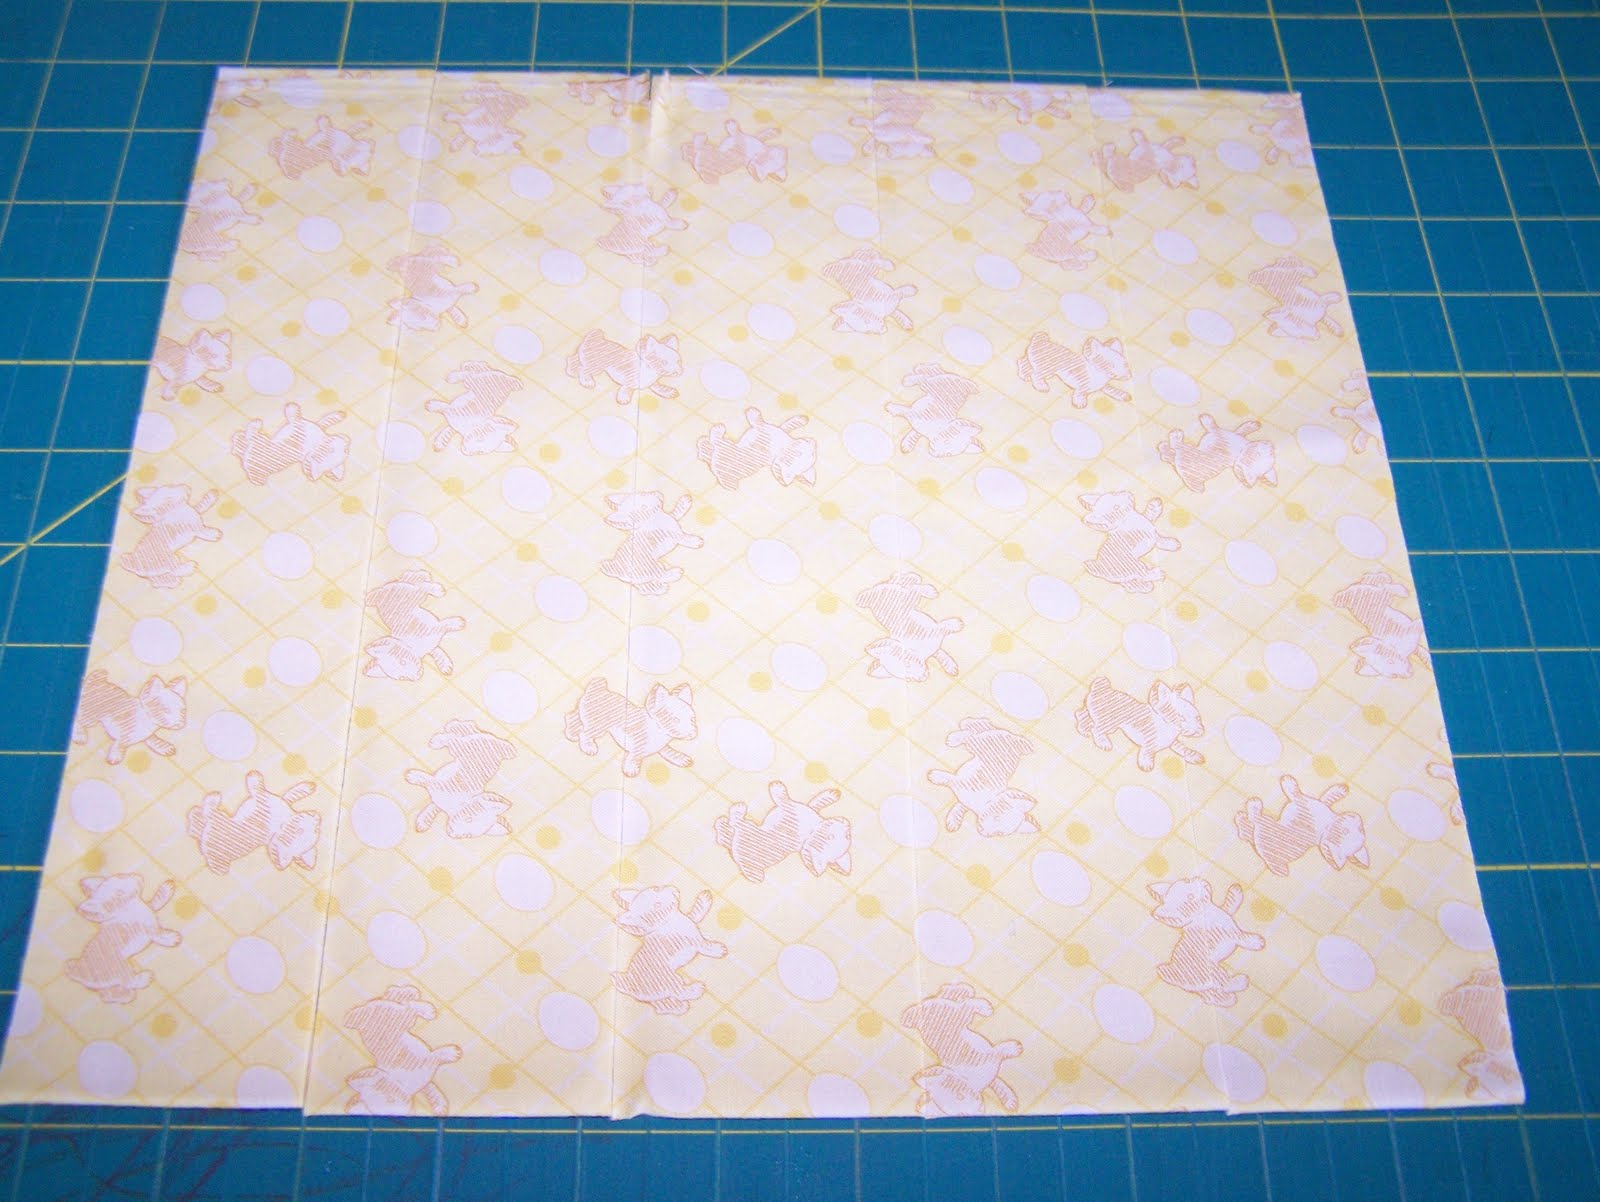
| 1930s reproduction fabric table runner quilted and ready to bind. |
 |
| Cut 2-1/4" strips the width of fabric, selvage to selvage. Each strip will yield approximately 36" usable fabric. Measure your quilt top to see how much you need, remembering the corners will take up a few inches, and you'll need at least 7" of overlap where the two strip ends will meet. |
 |
| Place the right sides of the ends of two strips together as shown. The extra tail is so the selvage doesn't show on the right side. Sew diagonally from the two corners where the two strips meet. The blue tape is painter's tape I use as a guide for sewing diagonal lines. |
 |
| Continue sewing all the strips together without cutting the thread. I reverse to lock the stitch in at the beginning and end of each seam. Then cut them apart between the sewn strips. |
 |
| At the ironing board, fold strip in half exactly and press. When you come to a strip seam, trim the extra fabric 1/4" from the seam and press open. Continue pressing remaining strips. |
 |
| One big pile - one long strip. |
 |
| Begin attaching the binding at the bottom edge of a quilt. Leaving a tail that is at least 6" long, line up the raw edge of the binding with the FRONT of the quilt and stitch in a 1/4"+ seam. Be very consistent in keeping the seam allowance the same all the way around. My presser foot is not 1/4", nor is it quite 3/8", and I use the edge of the foot. Apply a little pressure on the strip by very gently pulling it toward you to keep it smooth. This also prevents a wavy edge on the finished quilt { unless the quilt top was already wavy }. Continue aligning the binding strip with the quilt edge and stitch until you come to a corner, at which point you'll stop with your needle down into the quilt 1/4"+ { your seam allowance measurement } away from the edge. |
 |
| Turn the quilt. Raise the needle out of the quilt. |
 |
| Turn the strip toward you in a 90-degree angle. You will see the folded strip sticks up in the picture. Lay this fold down, away from you, aligning it with the previously sewn edge at the top of the quilt, then line the raw edge of the binding up with the right raw edge of the quilt, and line up the left side of the strip with itself so the bottom strip doesn't peek out but is lined up perfectly with the strip lying on top of it. It should look like a perfect 90-degree corner { see picture below }, and don't sew it until it does. |
 |
| Edges all lined up and ready to sew again. Place the pressure foot at the edge and reverse to lock in the stitch. Continue stitching along the strip. |
 |
| Continue sewing on the binding, stopping when you are 10" away from where you first began stitching on the binding. |
 |
| This step is crucial, so pay double attention before you cut! At your cutting table, lay it all flat and overlap the binding edges one atop the other, right along the raw edge of the quilt. Cut the strips so they overlap 2", no more, no less. Cut straight, too, not at any sort of an angle. Do this in the middle of the unstitched area so you have more flex area to join the strips together. |
 |
| Lay the two strip ends right sides together just as you did to join the strips in the beginning. Do not leave any overhang here, however; join them at the very ends of the strips. Carefully pin the two layers together. |
 |
| Sew a diagonal seam from the corner of the top strip to the corner of the bottom strip. |
 |
| Remove pins and make sure the binding lies flat when folded in half and lined up with the edge. If it doesn't lie flat, rework the seam until it does, either taking in more or letting a bit out. This shouldn't happen if you've been careful about seam allowances all along. Once it looks great, cut the extra fabric from the seam and press open. Line the raw edge of the binding up with the raw edge of the quilt and stitch as before. |
 |
| Press the binding away from the quilt front. |
 |
| Turn the quilt over and fold the binding to the back side of the quilt. First pin one side and then the other, pinning the corner last. Don't force the binding over to the back side; just fold to where it naturally goes without pressure. This is why a uniform seam allowance was so important earlier. Fold one edge of the corner over the other so they line up to a perfect 90-degree point. Carefully pin through this point toward the corner of the quilt as shown. |
 |
| With the front of the quilt up, begin at a corner and fold the binding to the back and hold it there as you sew in the ditch between the quilt top and the binding. When you come to a corner, stop sewing with the needle down exactly in the corner where the binding turns. You may need to temporarily shorten your stitch length so the needle ends down in the corner exactly. Remember to lengthen the stitch length again, if shortened. |
 |
| Finished binding! The back looks just as nice as the front with no bumps and a straight seam, even on the back! |
 |
Quilt Stats:
Fabric: 1930s Reproduction Fabrics
Size: 14" x 72"
Batting: Warm and Natural Cotton
Quilting: Freehand meandering stipple
Binding: Double fold, 100% machine sewn
Not for sale! |


No comments :
Post a Comment