Cheers erupt, confetti falls, and happy dance begins!!
GRAVITY QUILT ALONG SCHEDULE:
March 8, 2015 Announcement!
March 10, 2015 Alternative Fabric Ideas
March 13, 2015 Using Your Solids Stash for a Gravity Quilt
March 16, 2015 - Schedule and Sponsors
March 17, 2015 Sponsors and Prizes!
March 24, 2015 Template Tips
April 17, 2015 Block 1 ◄ You are here!
May 1, 2015 Block 2
May 15, 2015 Block 3
May 29, 2015 Block 4
June 12, 2015 Block 5
June 26, 2015 Block 6
July 10, 2015 Block 7
July 24, 2015 Block 8
August 7, 2015 Block 9
August 21, 2015 Background Blocks
September 4, 2015 Finished Quilt Tops
September 18, 2015 Finished Quilts
November 20, 2015 Last day to enter the Finished quilt link-up.
November 20, 2015 Last day to enter the Finished quilt link-up.

Julie of Jaybird Quilts has shared color selection tips for Block 1 Horizon. This will help you know which colors from the stack to use if you are making your GRAVITY quilt exactly like the original, which I am.
There are a few pointers I can share with you from my experience beginning the GRAVITY quilt, including reading the pattern, fabric prep, keeping track of fabrics, cutting, stitching, and ironing. I'm learning along with you!
First off, read the pattern through thoroughly three times. Repeat this tongue twister ten times. Just kidding! The pattern has excellent, well-written instructions on how to use the templates to create the shapes in several sizes. Julie did an amazing job with the graphics in the pattern book! Read them carefully and then re-read as you cut, if needed. Over the next weeks when you cut other shapes, you'll want to go back and re-read the section on those shapes again.
Next, I highly recommend starching your fabrics with a good quality product such as Best Press. This starch leaves them moderately firm but not crisp. The pieces will be handled a lot when assembling the quilt top and quilting, so starching is a very important step to keep the bias edges from stretching.
I starched the first three colors using an aerosol starch from the grocery store. I made the mistake of cutting them before the starch was completely dry, because this starch takes forever to dry and I didn't want to wait. These diamond pieces shrank 1/16" to 1/8" one direction! This did not happen with the colors starched with Best Press even though they was not absolutely dry when I cut the diamonds. The lesson is the starch should be dry before cutting with the aerosol type of starch and perhaps the Best Press just to be safe!
If you are making a spot-on GRAVITY quilt, color placement is what it's all about! To keep the fabrics in the correct order as shown by Julie, I place three in a row on the ironing board, left to right, A, B, C, as noted in the pattern book. After starching them, I pick up the fabric on the left and cut it according to the quilt pattern. I then stack all of that fabric in a pile, scraps and all. {Keep your scraps for the bonus pillow instructions at the back of the pattern book!} I pin a label "A" to this stack, pinning only through the large bottom scrap fabric so as to not harm the pieces I'm using in any way. Then I move to the next fabric on the left and repeat the process. When the ironing board is empty, I add the next fabrics, which in this case would be D, E, F, and repeat the process. The picture below shows colors A, B and C for the second Block 1.
My next tip is for those who are using the precut quilt kit. Several of my 10" squares were not exactly 10" square, and some of them were not even square, as seen in the picture below. At first I thought this was from the starching and pressing, so I started measuring them before starching and pressing, and what do you know? Several of them weren't exactly 10" square even before handling them! So far I have not found this to be a problem, and here's what's working for me.
The goal is to have a full 10" strip to work with, especially for Block 1, so I don't want to make any cut that will make this dimension shorter. The pattern instructions also stress how important it is to have a full 10" and to use it wisely. In the picture below the longest side is across the bottom, a full 10". The height of the square is less than 10". In this case, I want to trim the pinked edge off of the bottom of the square and then cut strips parallel to the trimmed edge in the width indicated in the pattern. This way I have full 10" strips to work with. After carefully deciding which edge is best to cut, I turn the rotating mat which ever way it needs to be and then proceed to cut. Be careful in this step. Think twice or thrice, cut once - some blocks have very little extra fabric!
My next tip for cutting is be sure to complete step #6 on the cutting Diamonds instruction page. I did not see this step when I was cutting my pieces out and had to go back and do it when I was ready to sew them together. I was looking at those points with apprehension, trying to figure out how they were to line up. My past experience with diagonal pieces did not result in the top and bottom of the pieces lining up perfectly.
I went back and read the Diamond cutting page again, and there was the answer in step 6. Cut those points off using the triangle portion of the Super Sidekick. Using the triangle portion of the Sidekick, you will see there is a short line that indicates the corner of a diamond, which I've indicated with the red arrow. This arrow is not indicative of the block size, or maybe it is! I found this little line was the key to accurately placing the template in order to cut off the tiny triangles at the two corners. A rotating mat is very helpful in this step since the opposite ends of the diamond need trimmed, and the rotating mat reduces handling of the bias pieces.
Here are two cut diamonds. The one on the left has the pointed corners trimmed, and the one on the right does not. Removing the tiny triangles is the key to success in getting the edges lined up.
I took pictures of my fabrics stacked up, because they're just so pretty! Your piles may look different than mine, so don't worry if you have a big piece on the bottom of your pile and I don't. I cut an extra of one of the pieces.
My tip for sewing the diamonds together is to lay all the pieces out by your machine or on a portable design board. It looks really odd to sew the pieces together as shown below, but that is the correct way. Before sewing the next diamond, I always turn the top piece back over to make sure it is still oriented the correct way in the row.
Sometimes when joining rows together there is a bit of a gap between the two pins. If you just sew over this, there will be a pucker at the second pin. To prevent this, I gently stretch the fabrics between the two pins until they are lying flat. While holding this slight tension, I then place a pin horizontal to the edges, far enough back to not be run over by the presser foot. This eases the fabric in gently over a longer space so it doesn't create a pucker. The picture below shows the gap. I meant to show the pin, but forgot to take a picture of that.
Iron all seams open as indicated in the pattern book. And yes, I have a seam that was not lying flat when sewn, and I'm not stressing about it.
I went back and read the Diamond cutting page again, and there was the answer in step 6. Cut those points off using the triangle portion of the Super Sidekick. Using the triangle portion of the Sidekick, you will see there is a short line that indicates the corner of a diamond, which I've indicated with the red arrow. This arrow is not indicative of the block size, or maybe it is! I found this little line was the key to accurately placing the template in order to cut off the tiny triangles at the two corners. A rotating mat is very helpful in this step since the opposite ends of the diamond need trimmed, and the rotating mat reduces handling of the bias pieces.
Here are two cut diamonds. The one on the left has the pointed corners trimmed, and the one on the right does not. Removing the tiny triangles is the key to success in getting the edges lined up.
I took pictures of my fabrics stacked up, because they're just so pretty! Your piles may look different than mine, so don't worry if you have a big piece on the bottom of your pile and I don't. I cut an extra of one of the pieces.
My tip for sewing the diamonds together is to lay all the pieces out by your machine or on a portable design board. It looks really odd to sew the pieces together as shown below, but that is the correct way. Before sewing the next diamond, I always turn the top piece back over to make sure it is still oriented the correct way in the row.
When sewing the rows of diamonds to one another, it can be tricky to know where to line up the diamond seams since they are coming together at opposite angles. There does not appear to be instructions on this in the book, at least that I could find. I found that the right side of the seam allowance of the pieces on the top should match up with the actual seam of the fabrics on the bottom. Here's a rough picture of this. The two red arrowheads would touch exactly if the fabrics were lying flat.
Iron all seams open as indicated in the pattern book. And yes, I have a seam that was not lying flat when sewn, and I'm not stressing about it.
That's it! Here are my two completed Block 1's! I'm anxious to see yours, so be sure to link up below!
♥ ♥ PRIZE PACKAGE GIVEAWAY! ♥ ♥
The following prizes will be given away on May 1st when Block 2 is posted. There will be two random winners selected. One will receive the prize package from the QAL Sponsors, and the other winner will receive a prize package from me.
Green Fairy Quilts is a an online fabric shop that specializes in precuts, preorders, bulk orders, and free shipping on every order! Judi is a custom quilter, and she and her husband, Clint, have started a non-profit charity for orphans in Romania. They are based in Utah. Green Fairy Quilts is kindly donating a $25 Gift Certificate to a lucky GRAVITY Quilt Along participant.
♥ ♥ ♥ ♥ ♥ ♥ ♥ ♥ ♥ ♥ ♥ ♥ ♥ ♥ ♥
Julie Herman of Jaybird Quilts, the designer of the GRAVITY Quilt, is donating one of her newest quilt patterns, Stereo, which uses the Super Sidekick Ruler. Jaybird Quilts is located in California.
♥ ♥ ♥ ♥ ♥ ♥ ♥ ♥ ♥ ♥ ♥ ♥ ♥ ♥ ♥
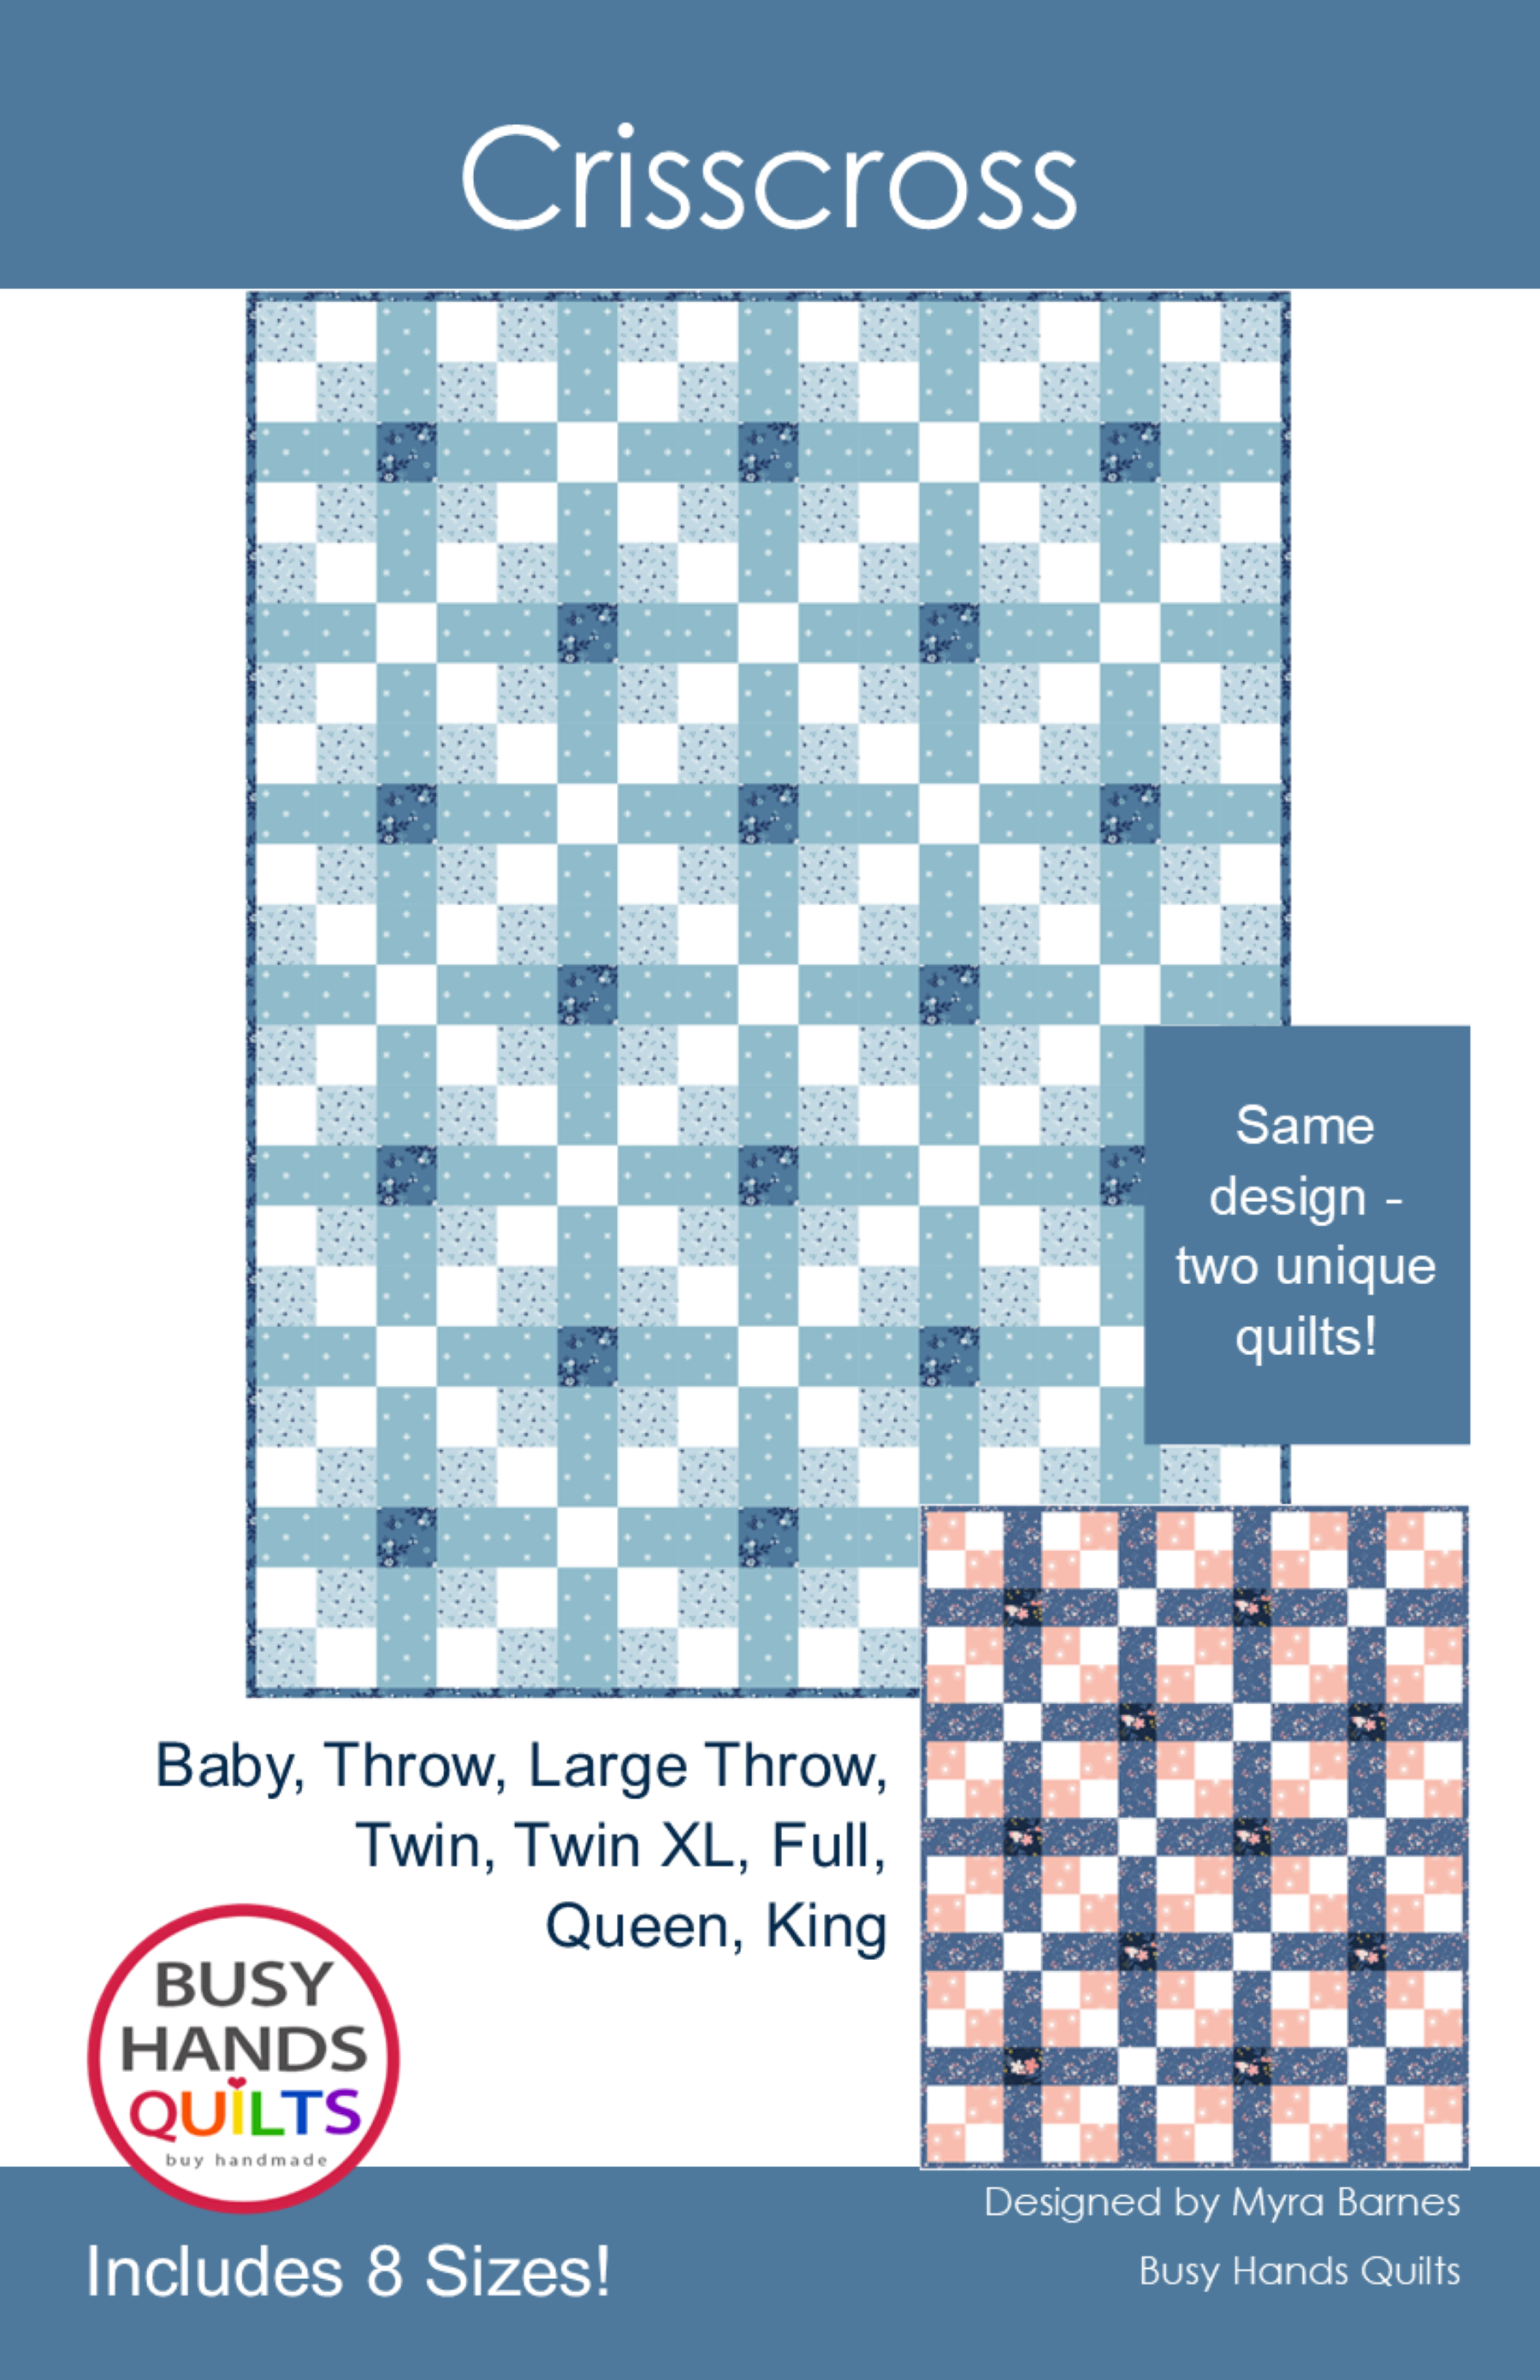
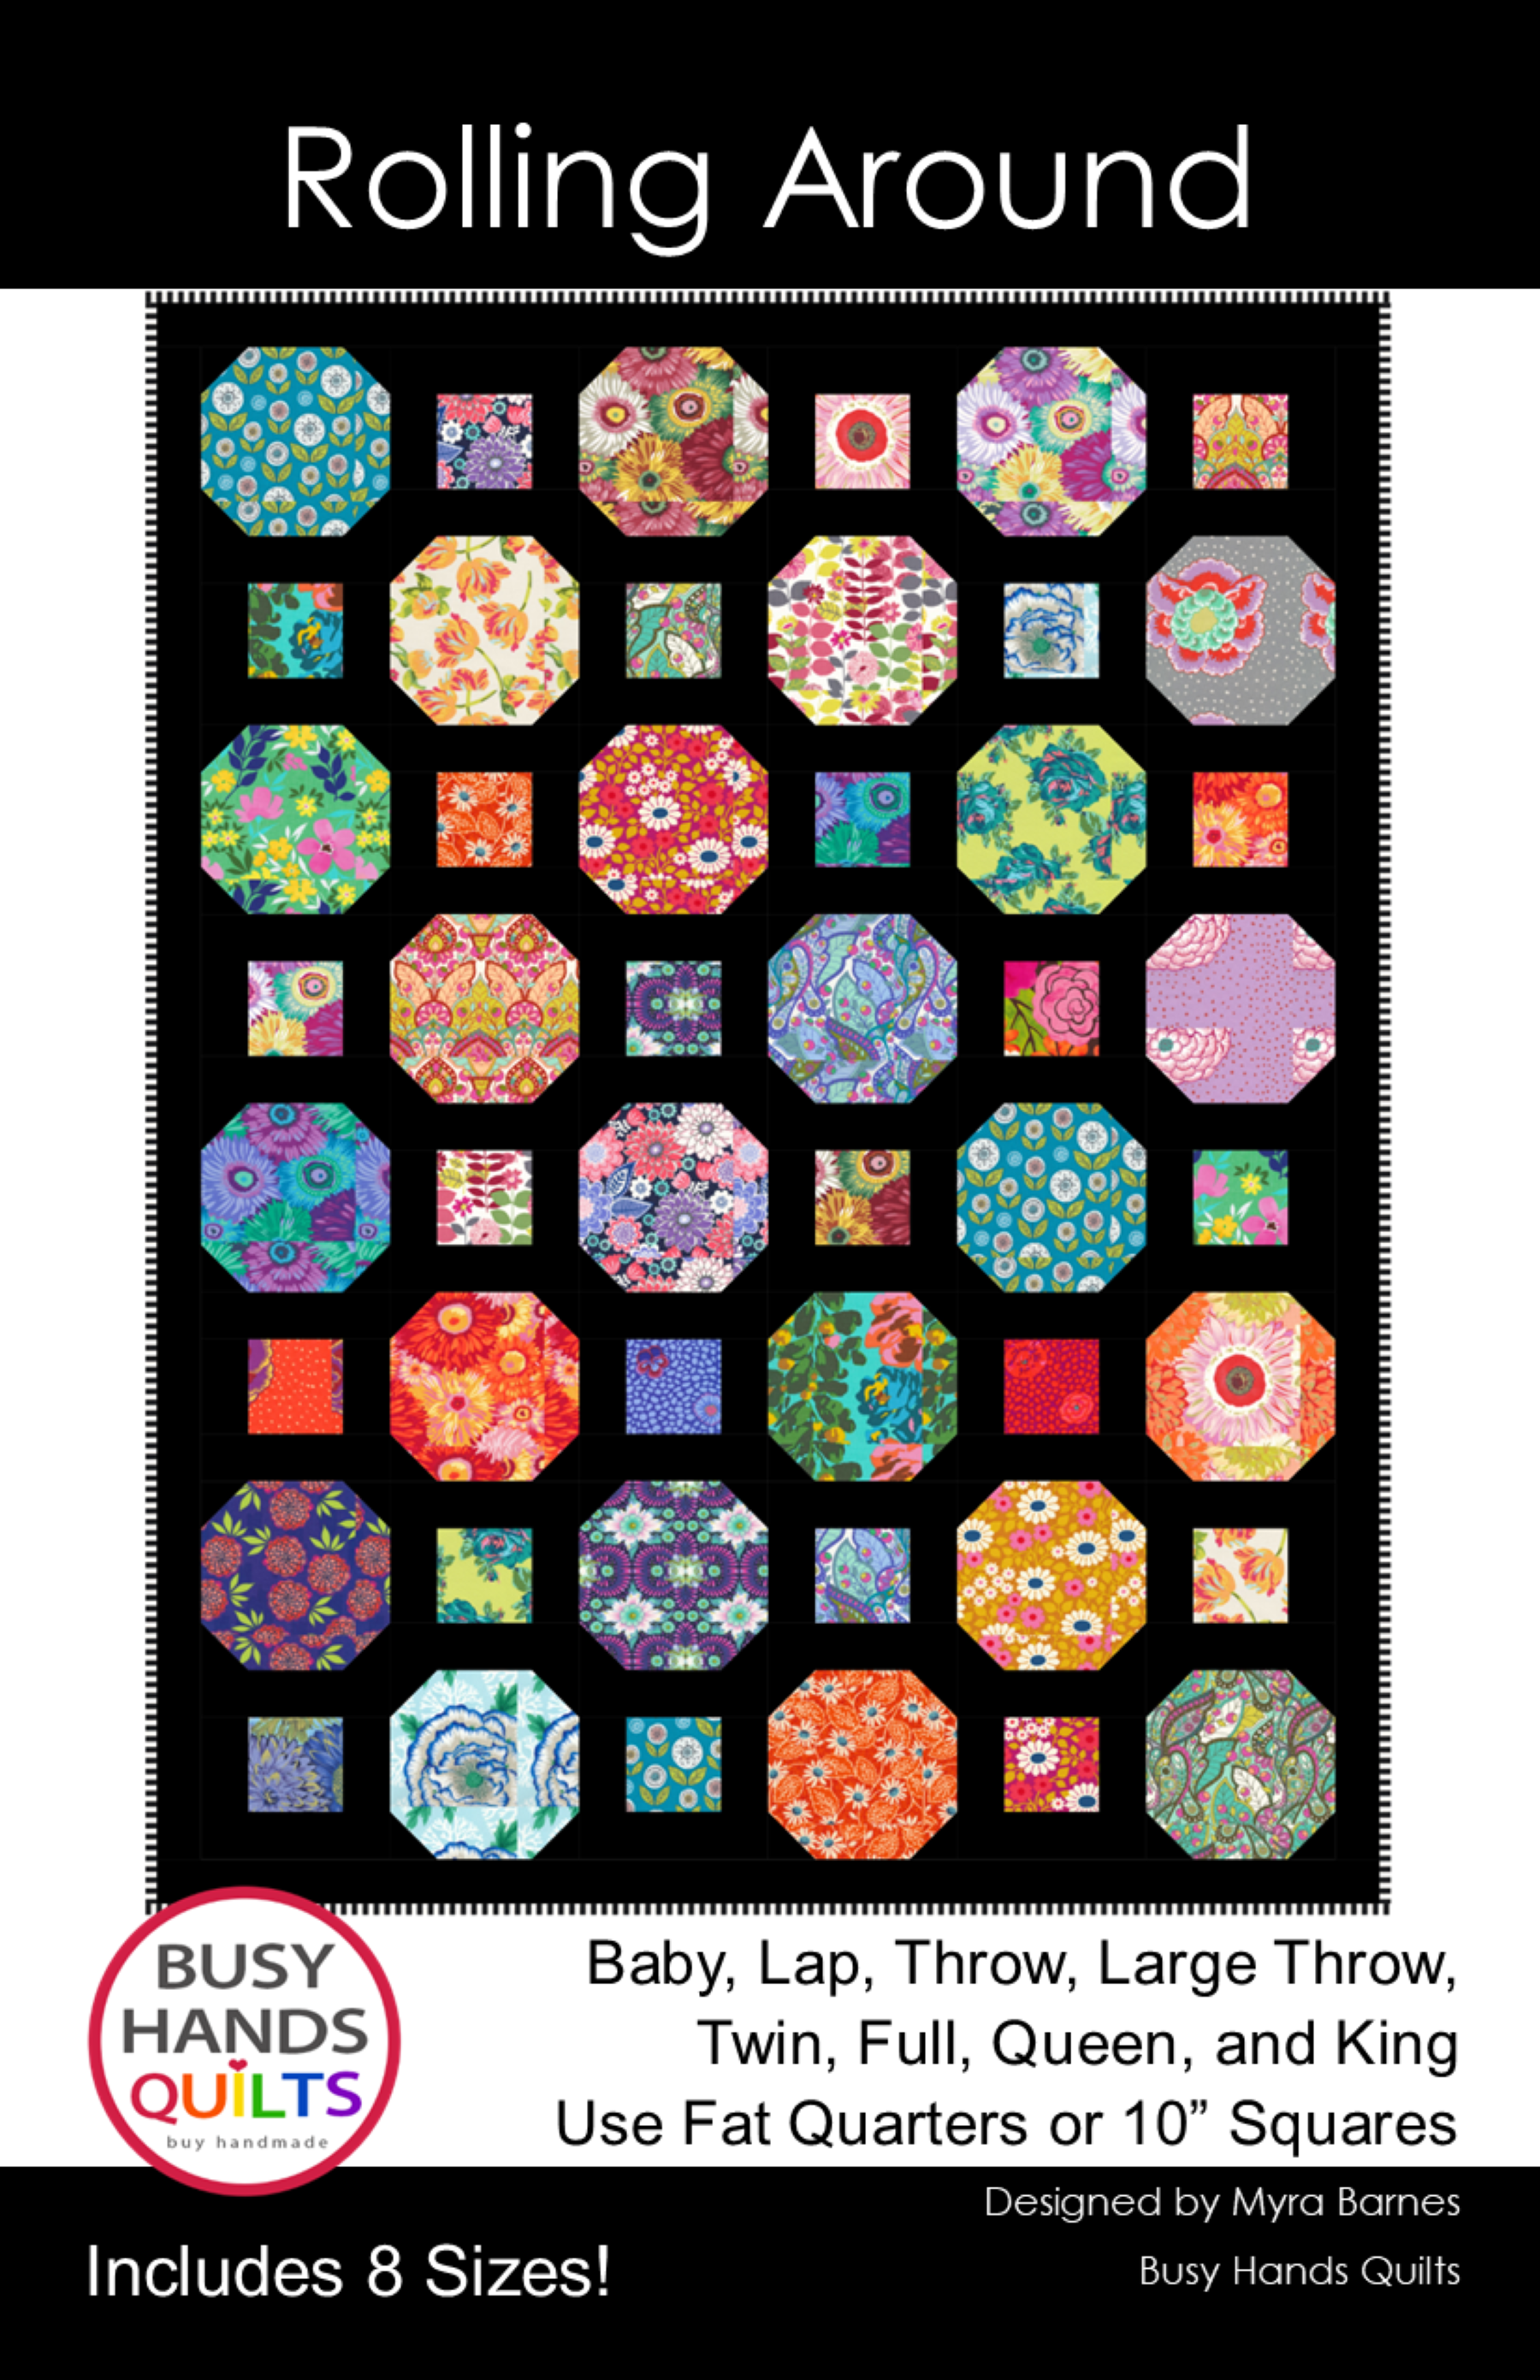
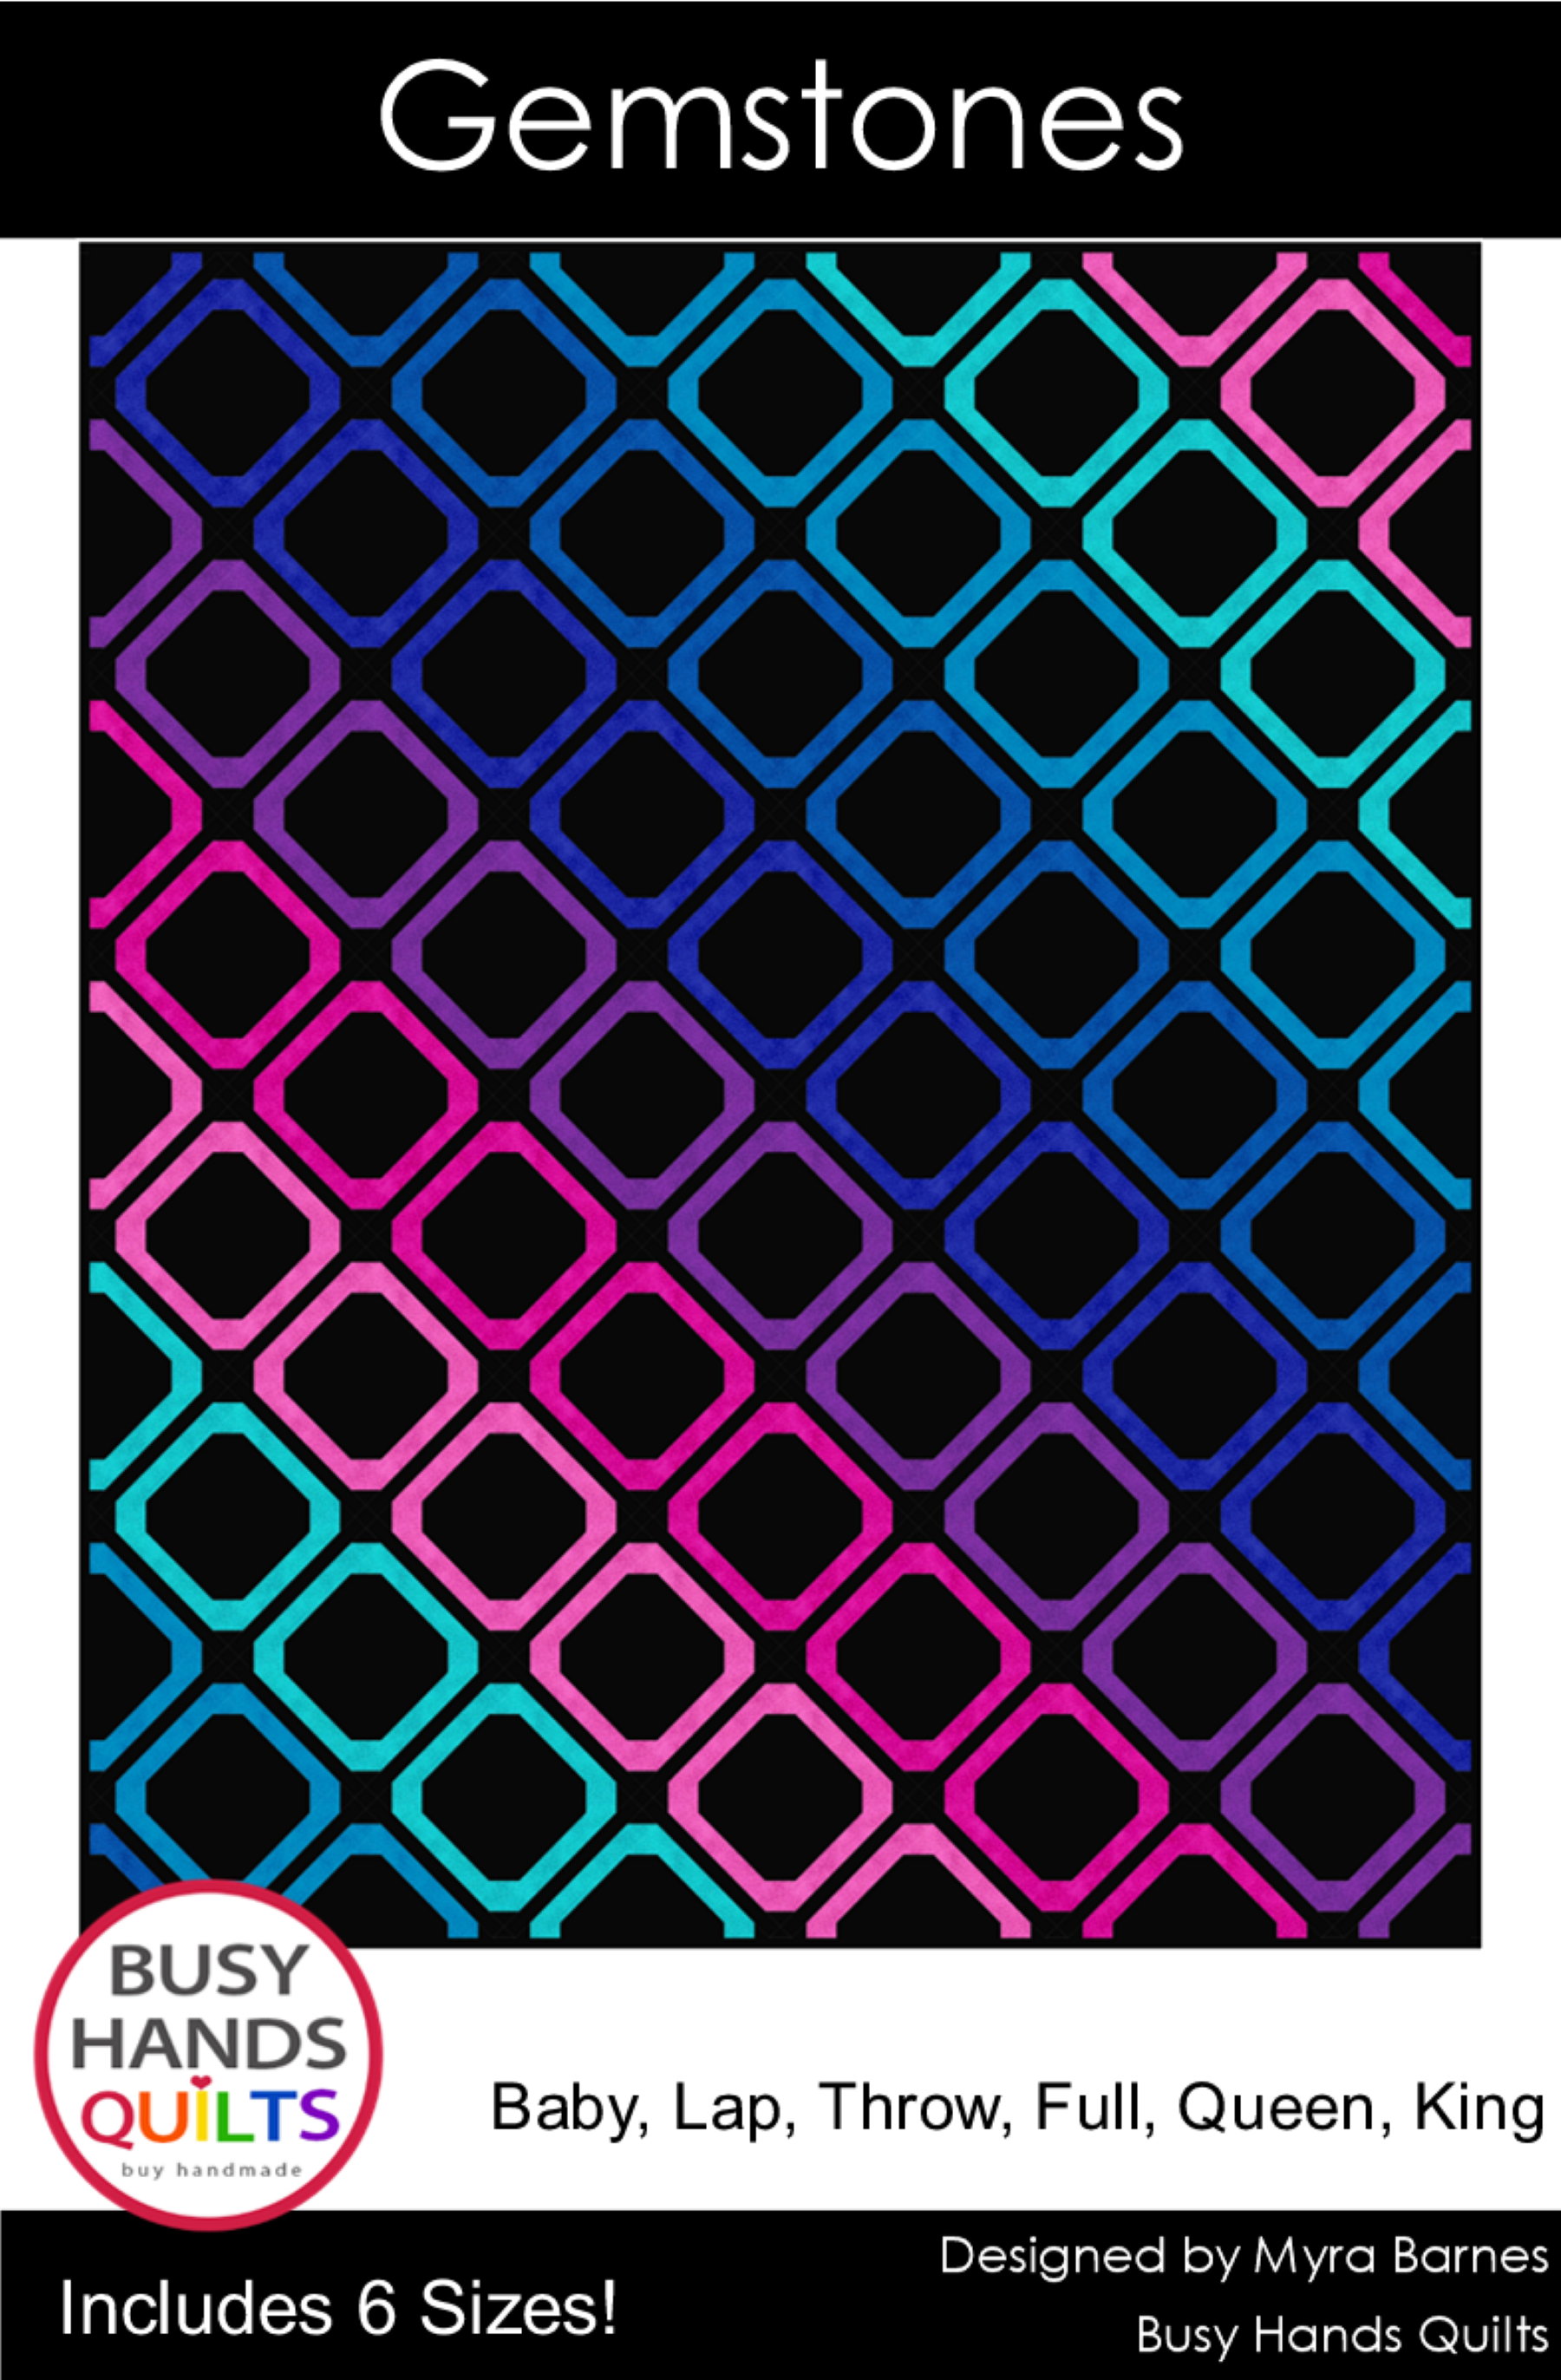
Allison of Cluck Cluck Sew is donating 10 PDF patterns! Each prize drawing will include one PDF pattern of the winner's choice. Stop by her shop and take your merry time deliberating over which pattern you'd choose! Allison has over 40 patterns to choose from, so you're sure to find just what you need. Cluck Cluck Sew is located in Washington! Here's a sampling of her patterns.
♥ ♥ ♥ ♥ ♥ ♥ ♥ ♥ ♥ ♥ ♥ ♥ ♥ ♥ ♥
 Busy Hands Quilts is my quilt shop. I make custom and ready-made quilts in any size and most patterns. I'm located in Bellingham, Washington, which is #47 on the list of Top 100 Best Places to Live in the US. That's after Fargo, North Dakota, go figure! I will give away a bundle of fabrics and patterns from my huge stash during every giveaway!
This month's bundle includes a layer cake Twister template and instructions, The Angler guide for a sewing machine bed, a quilt-as-you-go Braid Runner pattern, four kitchen fat quarters and two Riley Blake Vintage Verona charm packs!
SHARE VIA FLICKR, SOCIAL MEDIA, AND YOUR BLOG!
Please post your pictures to the Gravity Quilt Along Flickr Group!
Please share about the Gravity Quilt Along on social media!
#GravityQAL and #GravityQuilt
Go HERE to grab a GRAVITY Quilt Along button and share the fun!
♥ ♥ LINK-UP YOUR BLOCK 1's! ♥ ♥
The link-up will be open until the Quilt Along ends. To qualify for the prize giveaways, you must complete two Block 1's and add your link by 11:55 pm, April 30th, 2015, Pacific Coast US time. You can link to a blog post, Flickr, Instagram, or Facebook. Just make sure to link up before Friday, May 1st to be entered in the prize package giveaways!
If you have any questions, please don't hesitate to contact me.
Please link to the GRAVITY Quilt Along in your post!
An InLinkz Link-up
Linking to:
~ Confessions of a Fabric Addict ~ Fabric Frenzy Friday ~ What I Did This Week ~ TGIFF ~ Show Off Saturday ~ Pet Project Show ~ Show and Tell Tuesday ~ Linky Tuesday ~ Tips and Tutorials Tuesday ~ Sew Cute Tuesday ~ Monday Makers ~ Main Crush Monday ~ Freshly Pieced ~ Let's Bee Social ~ Needle and Thread Thursday ~
Get a Free Quilt Pattern!
Get a free pattern when you sign up to receive the latest info on what's happening in my studio, new quilt patterns, subscriber-only sales and Giveaways, quilty window shopping, and other fun news!












10 comments :
Great instructions! You're doing great!
Thanks for all the tips! I will be sure to use them when I make her Lotus quilt.
Very informative and helpful. Thank you very much. I can hardly wait to start.
Great instructions. Most helpful.
Thanks for linking up at the TGIFF
Love from Amsterdam
This quilt is so cool, and your instructions make these blocks look simple.
Just LOOKING at those diamond patches makes me break out into a cold sweat!! I never realized that aerosol starch could shrink my fabrics. Had you prewashed/preshrunk your fabrics before you starched them, and they still shrunk more with starch? Or are you working with unwashed fabrics? Good luck with your beautiful modern quilt-along project!
You're very busy person!! You've clearly got a lot of projects on the go at once. I hope you're having fun with them. Thank you for linking up with Sew Cute Tuesday.
I was hoping to join the quilt along and was looking for a discount to get the kit and yesterday I found the kit with fabric on Craftsy for only $101.00. Everywhere else it is about $170. Thought I would share if the cost is keeping anyone else from joining in. I'll be late starting but as soon as it comes, I'll join in.
(debbie at wowilikethat dot com)
So excited when I saw a quilt along for this. Thanks for the great tips.
I got my kit yesterday! Maybe I can finished the first two blocks before the deadline. I want prizes! ;)
Post a Comment